A Step-By-Step Guide To Creating Branded Stickers
In this 3rd part of the 4-part series about Instagram sticker creation, we will be going through a step-by-step guide for making your very own branded stickers. From concept to creation, we’ll guide you through designing and creating a sticker for your own Instagram brand.
- Come up with a concept.
You might want to put together a sticker collection or introduce stickers as part of a campaign. It could be specific to Instagram using ‘Swipe Up’ or ‘Link in bio’, or an attempt at getting loads more views on your profile through heavy branding. Start with some inspiration from these 10 brands we collated for their excellent work.

2. Decide on the design tool that’s right for you.
There are many different types of GIF stickers you can create. They could be purely design-based using drawings, shapes and text. For this kind of thing you might want to look at using Procreate or Photoshop. If you want to turn a series of still photos into a GIF, you can stitch images together using the giphy.com GIF creator, then download the GIF, remove the background using a tool such as Unscreen and then reupload as a sticker. To turn a short video into a GIF, Unscreen is also the tool for the job.
See our recommendations for which tools to use here: https://minter.io/blog/top-tools-for-creating-gif-stickers-for-instagram-stories/
3. Put your artist flare to the test.
There are many pieces of software you can use to create a sticker. If you are comfortable with using a tool such as Photoshop or Procreate, the limit really is your imagination and you can come up with a more professional finish.
Here are some in-depth tutorials for creating your GIF sticker entirely using that software.
Photoshop: https://youtu.be/ckkv2nVTYSI
Procreate: https://youtu.be/OJAdFyFI2h8
Here is one very simple way you can create a GIF sticker with minimal design experience…
For this example we’re going to be taking a picture of an ‘A’ from Unsplash. This is a great website for getting images that you can use commercially free of charge and without copyright issues. Big thank you to Mae Mu for uploading this image!
- Collate a selection of images that you’d like to stitch together. They must be slightly different in order to create the animation. We have duplicated the image several times and changed the saturation on each of our images.
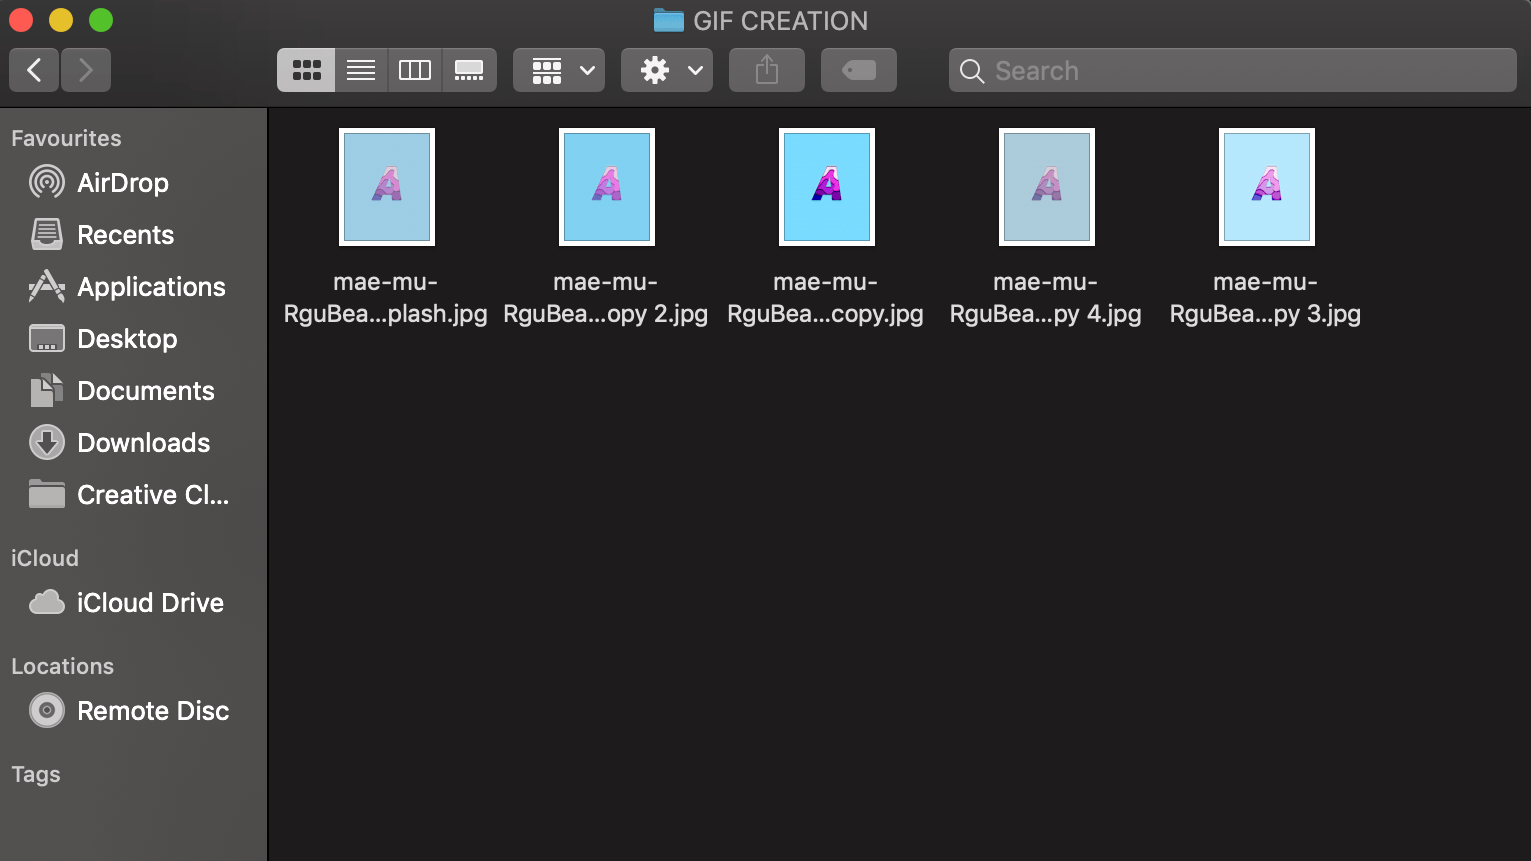
- Use the GIF creation tool on giphy.com. Order the images and select the duration of each slide. This tool leaves the image with a background.
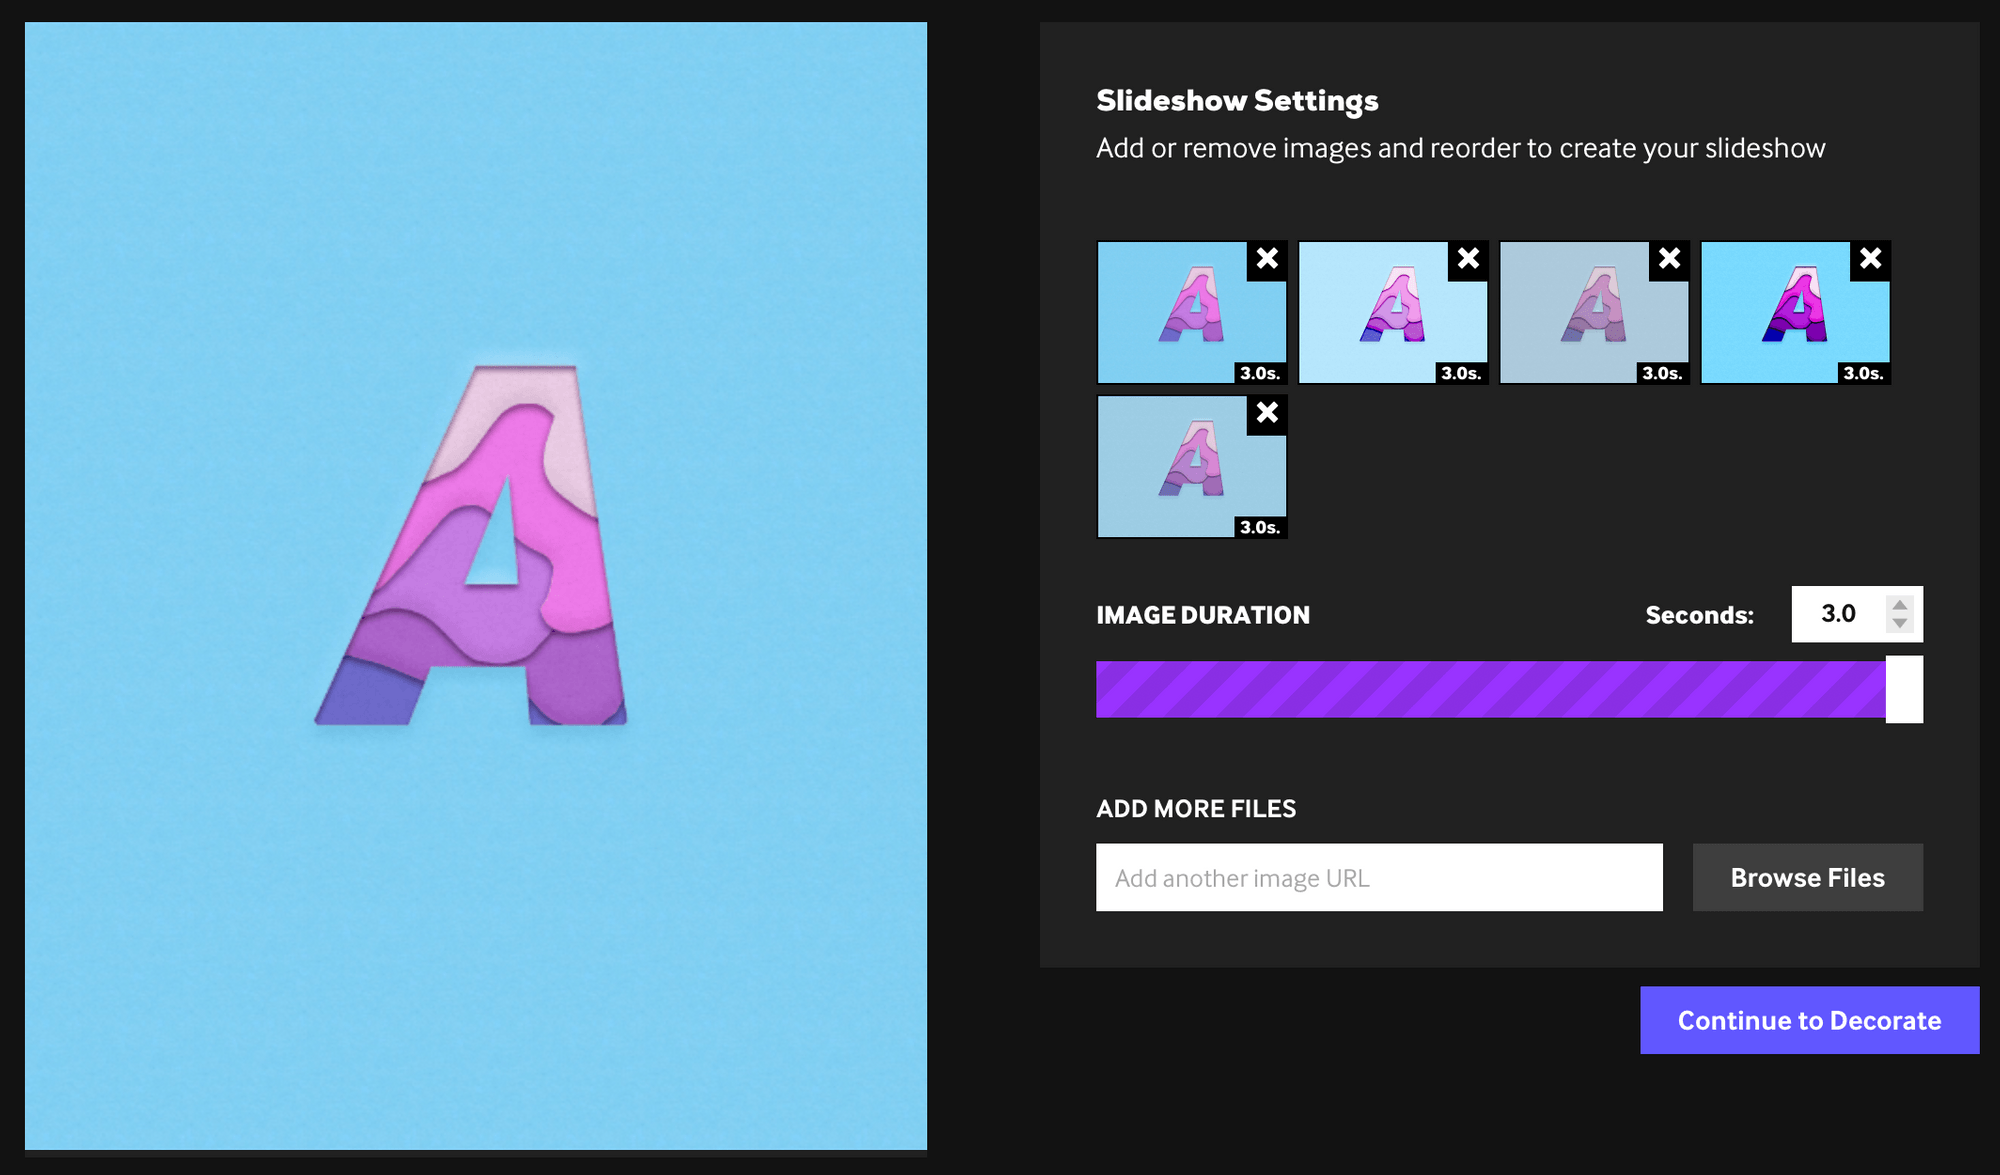
- You can edit and add to your images within this tool. Once you are happy with it, upload the GIF.
- We want a sticker, so we want a GIF without a background. The GIF creation tool leaves your GIF with a background. Download the GIF and then upload it to Unscreen.
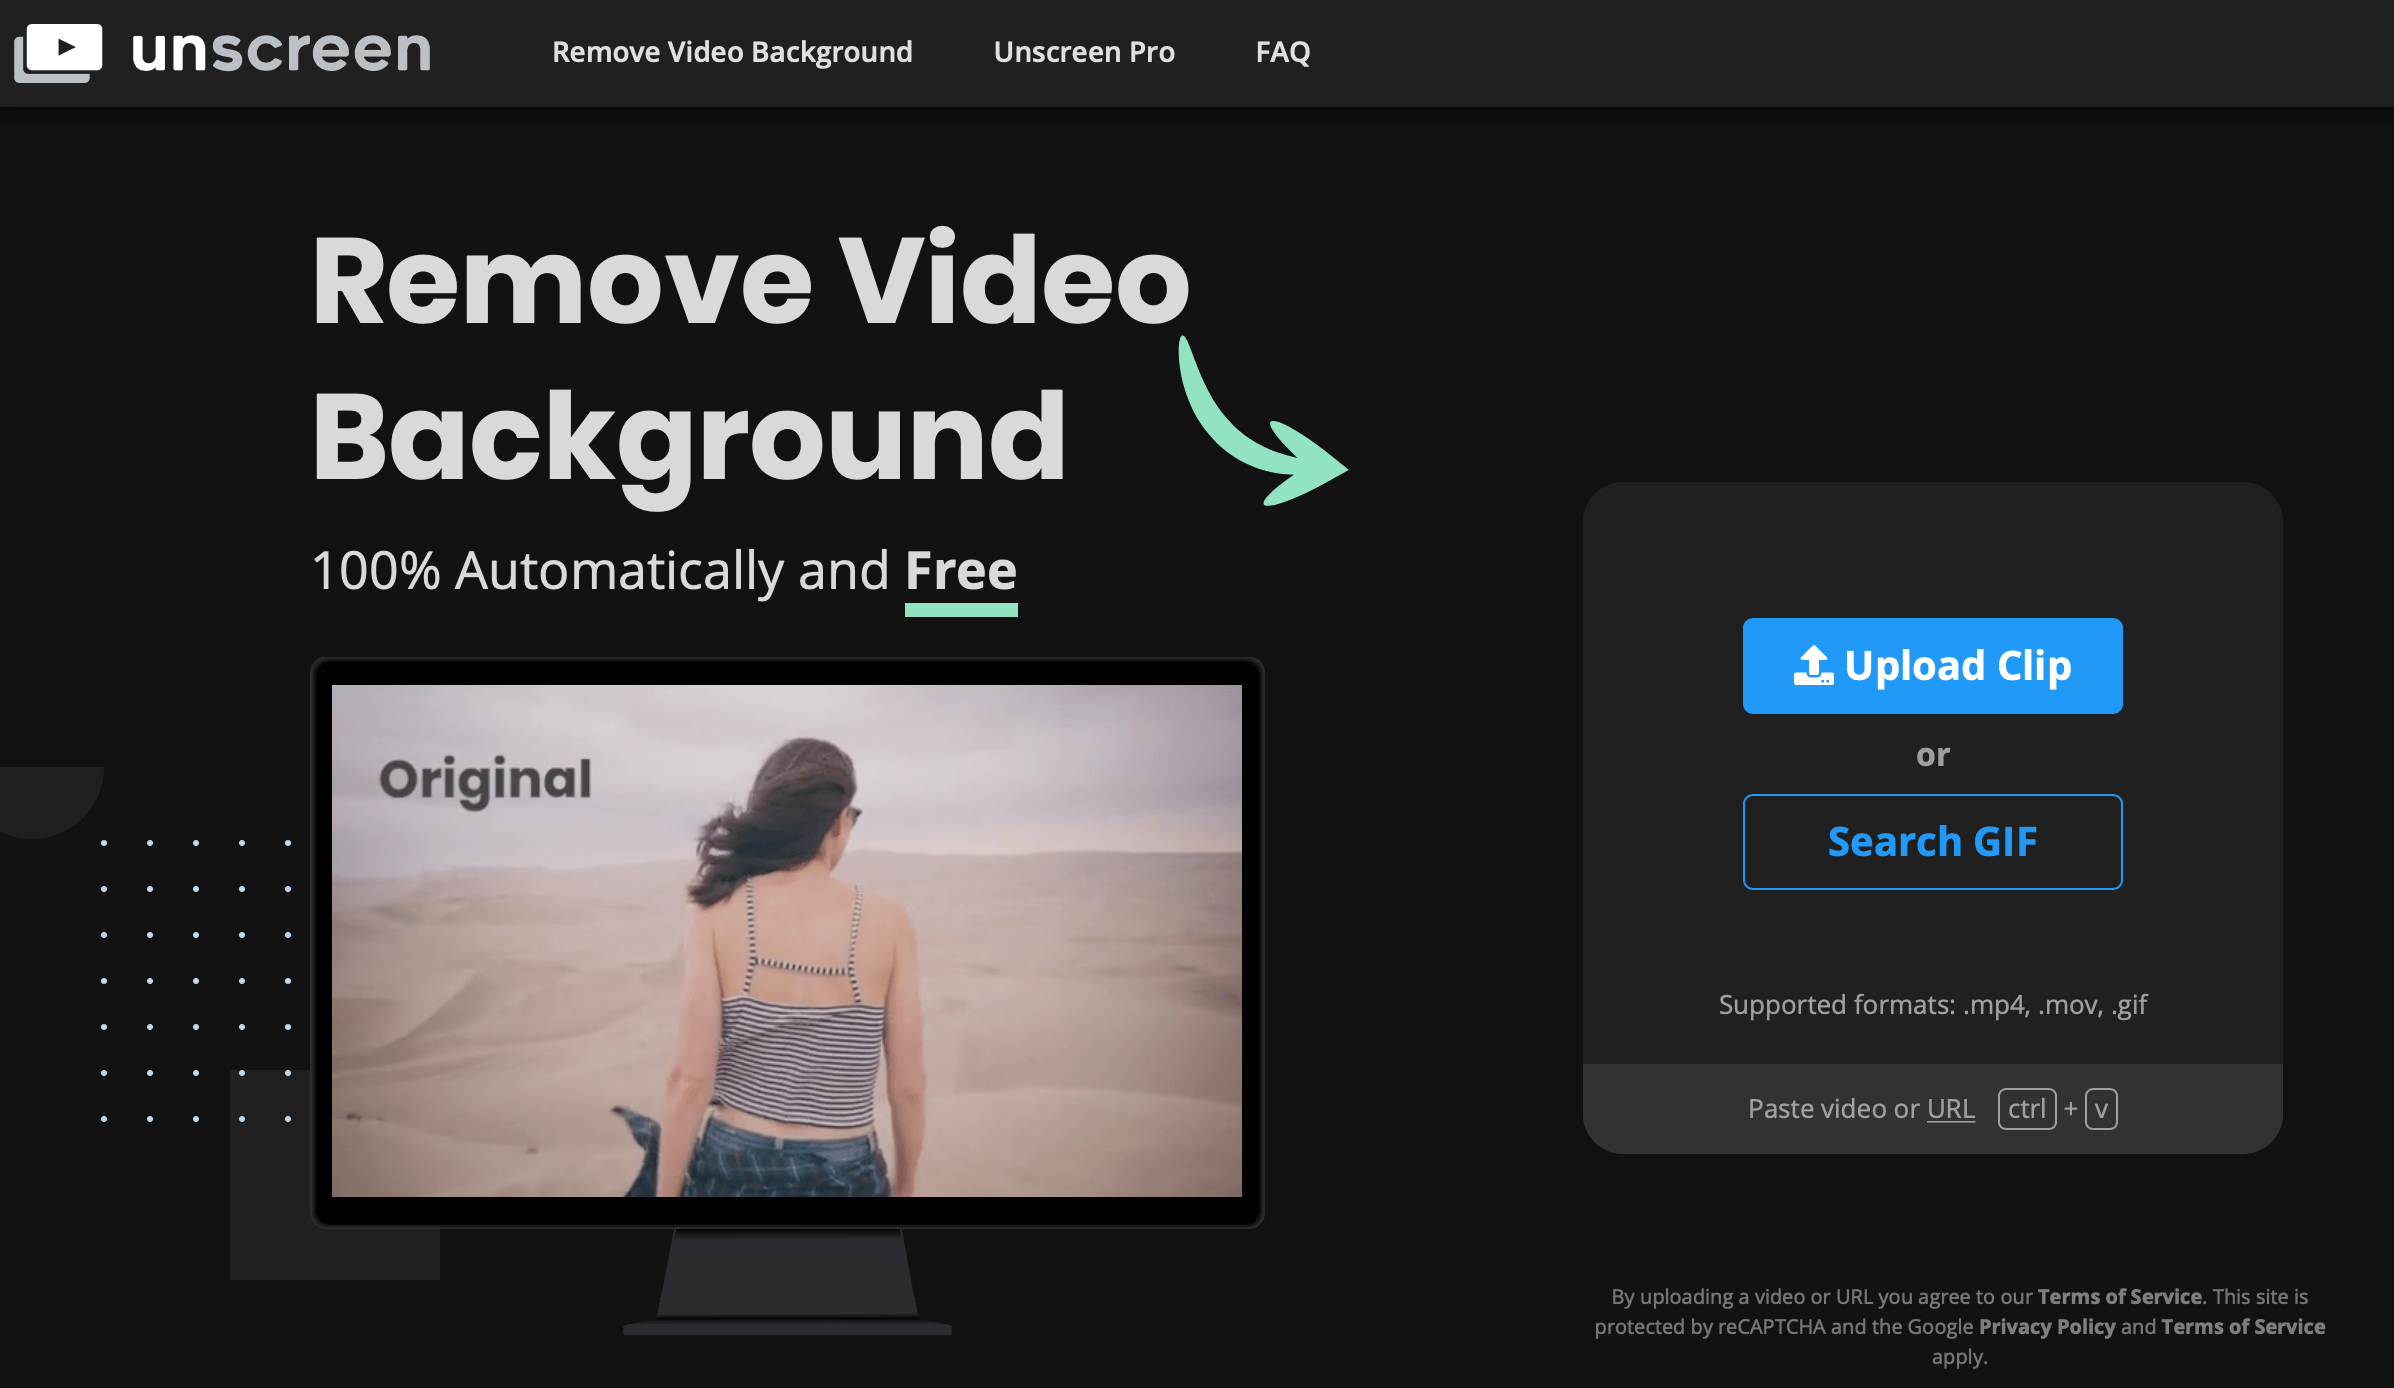
- Unscreen removes the background and you can download the GIF background-free!
- If you re-upload the sticker to giphy.com it will now come up as an animated sticker!
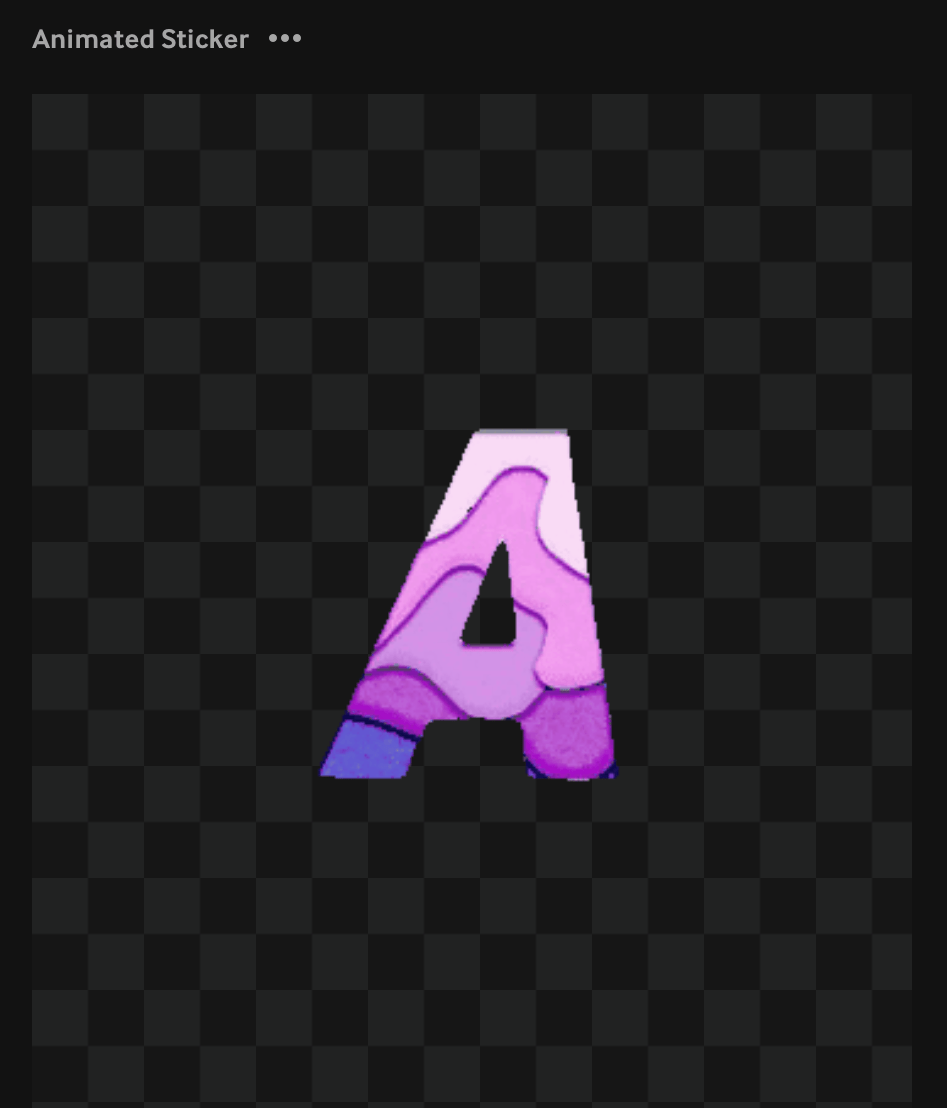
4. Upload your creation to giphy.com or directly to your Instagram story post.
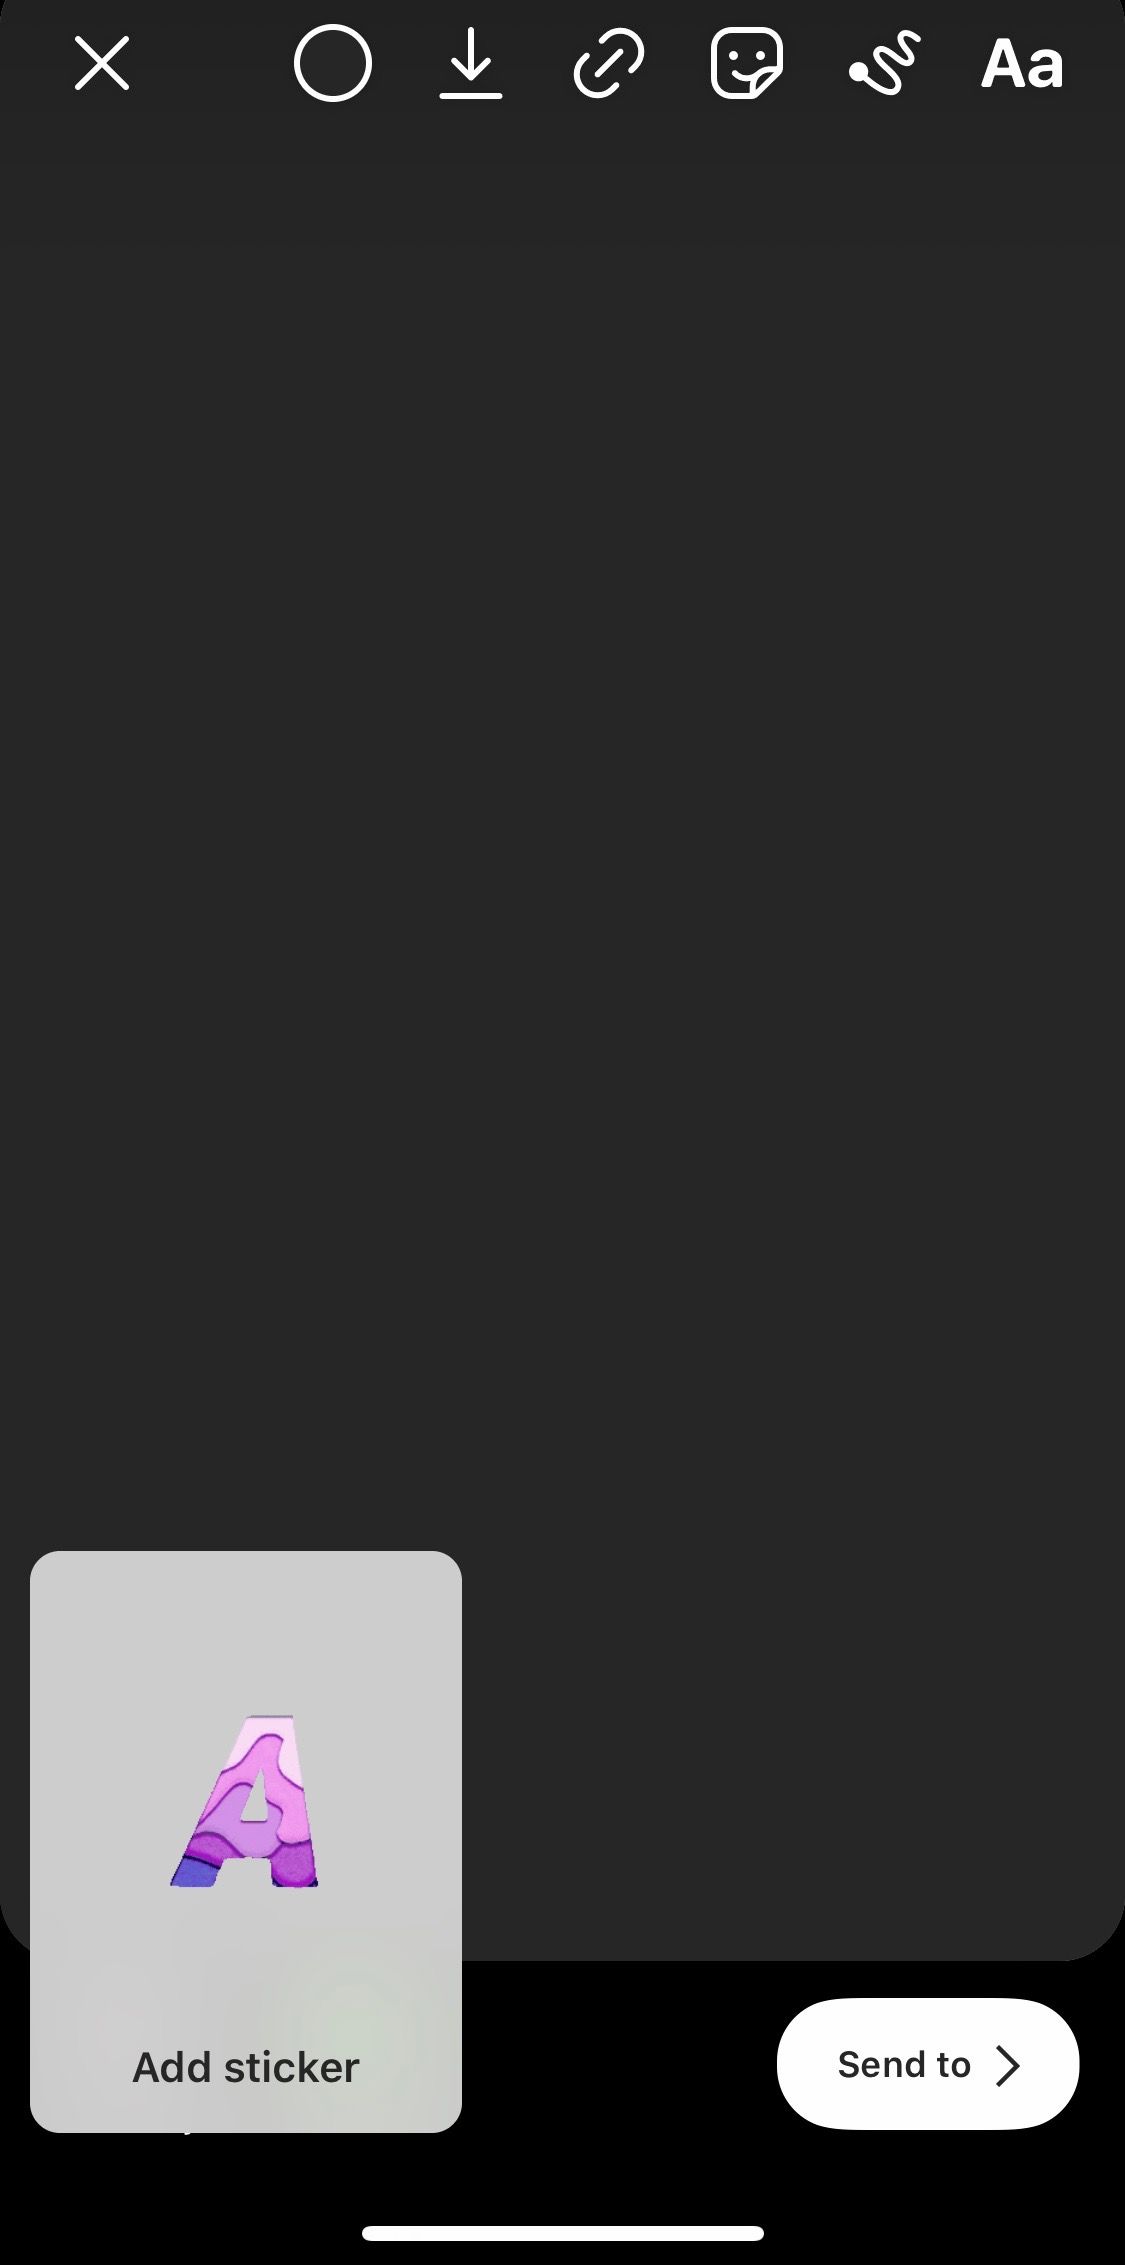
To upload the sticker directly from your phone to your Instagram stories post, simply copy the sticker from your camera roll. When you reopen the Instagram app, it will prompt you to add the sticker. You can also add it by selecting the text feature, holding the screen and selecting paste.
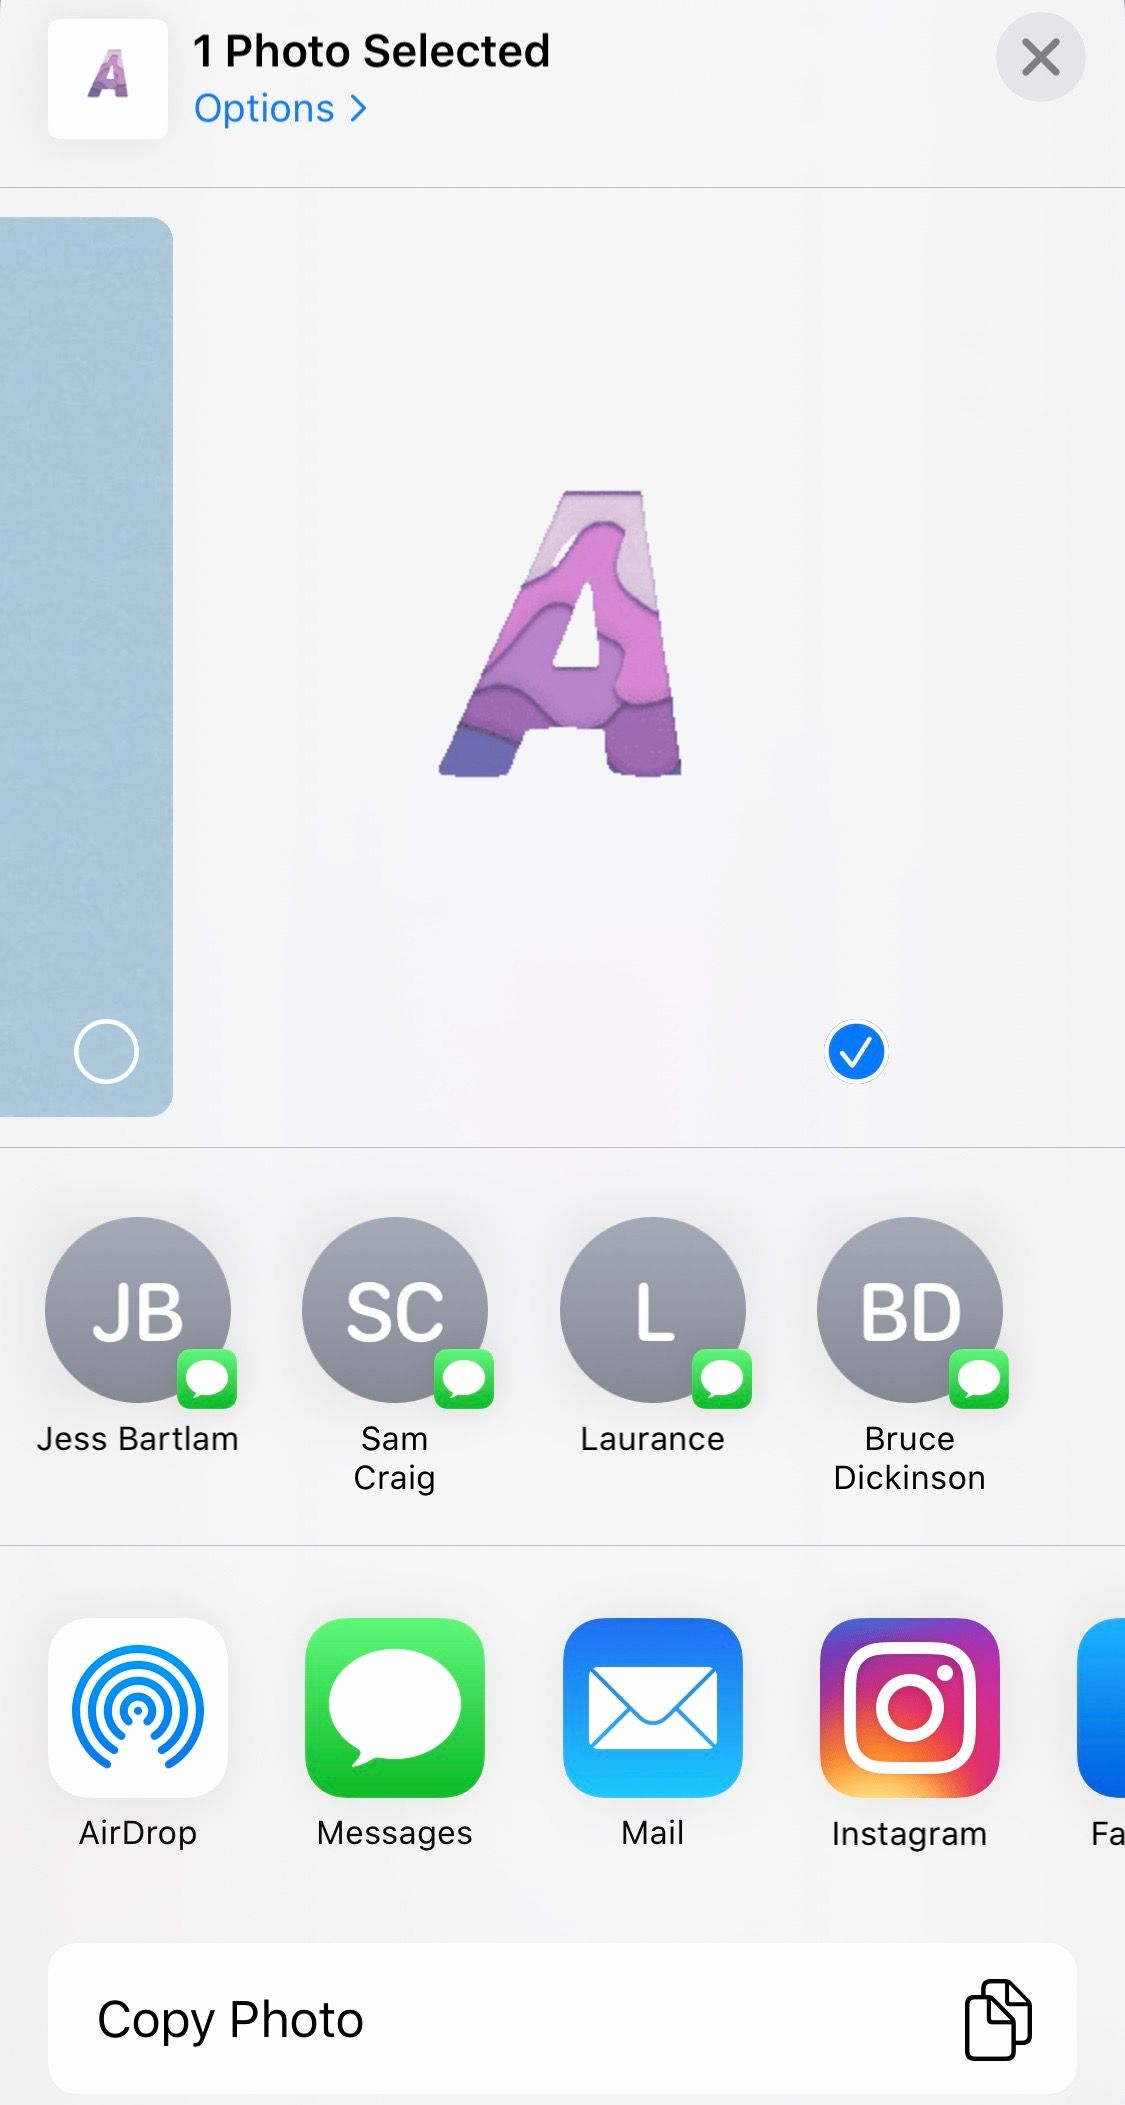
To integrate your stickers on giphy.com with Instagram, you will need a brand account. In the final instalment in this 4-part series we will be running you through how to integrate your GIF stickers with Instagram, so that they appear in the search function and have the option to trend and reach more people.

